Jekyll Website Features
31 March 2022
In this article, I am just going over some of the features of my personal jekyll website, and showing why Jekyll could be a good tool for generating static websites that contain lots of content such as blogs and galleries, without pulling your hair out. Jekyll websites are fast, secure, and simple, and below, I go over some features of Jekyll that I think are pretty powerful.
For other resources, I highly recommend checking out the Jekyll docs, and using their amazing step by step tutorial to get started - and to see all the neat things that are possible! If you are new to markdown, this Markdown Cheatsheet is a super awesome, helpful resource - for Jekyll sites, Github READMEs, and beyond!
Jump to Section:
- Creating a DRY Code Navbar / Navigation
- Projects Gallery
- Page Templates
- Making Blog Posts
- Final Thoughts
Hopefully, by the end of this post, you will see that Jekyll is ✨ magical ✨.
Creating a DRY Code Navbar / Navigation
i.e. The magic of using Includes

You can have a navbar included on every page, without having to type the same navbar code over and over again. This is advantageous as well for if those navbar links need to be changed or added to, or if you are as indecisive as me and am constantly changing the navbar content to be better organized.
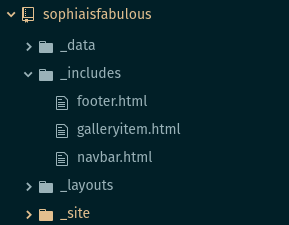
So the navbar.html file is inside the _includes folder, like this:
When we open navbar.html, it looks like this:
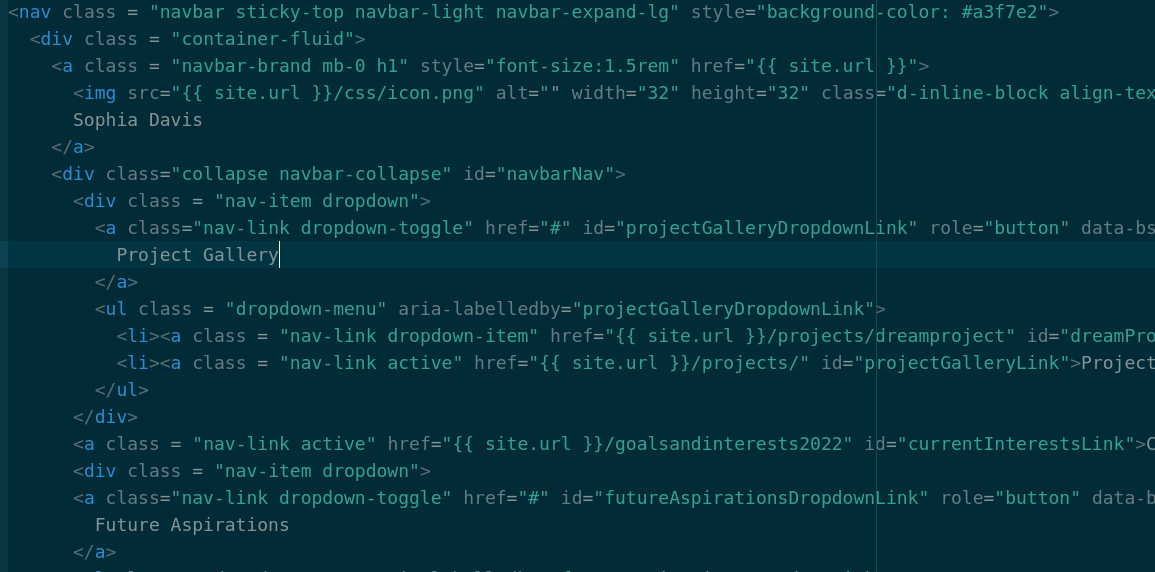
You’ll notice that all the links lead to paths that look something like this:

Where there is the {{ site.url }} liquid variable. What we are doing, is taking the site url and adding the proper path after it. This way, we don’t run into any problems with relative paths, we are just using the absolute path, and the navbar code will work on any page, even those in nested folders. Blog folders are especially nested when they are generated in the _site by Jekyll, they get nested first in a folder by year, then in one by month, then in one by date, hence why it is essential to use absolute versus relative paths.
Once you put the navbar in the _includes folder, you can include the navbar on a page like this:

Easy peasy. :)
All in all, Jekyll’s _includes folder and site url variable have solved a problem that I’ve had for a long time with the older versions of my personal website when I was younger, I kept having navbar links break on different pages, and I kept having to copy/paste the same navbar code onto each page.
Relevant GitHub code to see for this section:
Projects Gallery
i.e. The magic of using YAML files & Liquid for loops
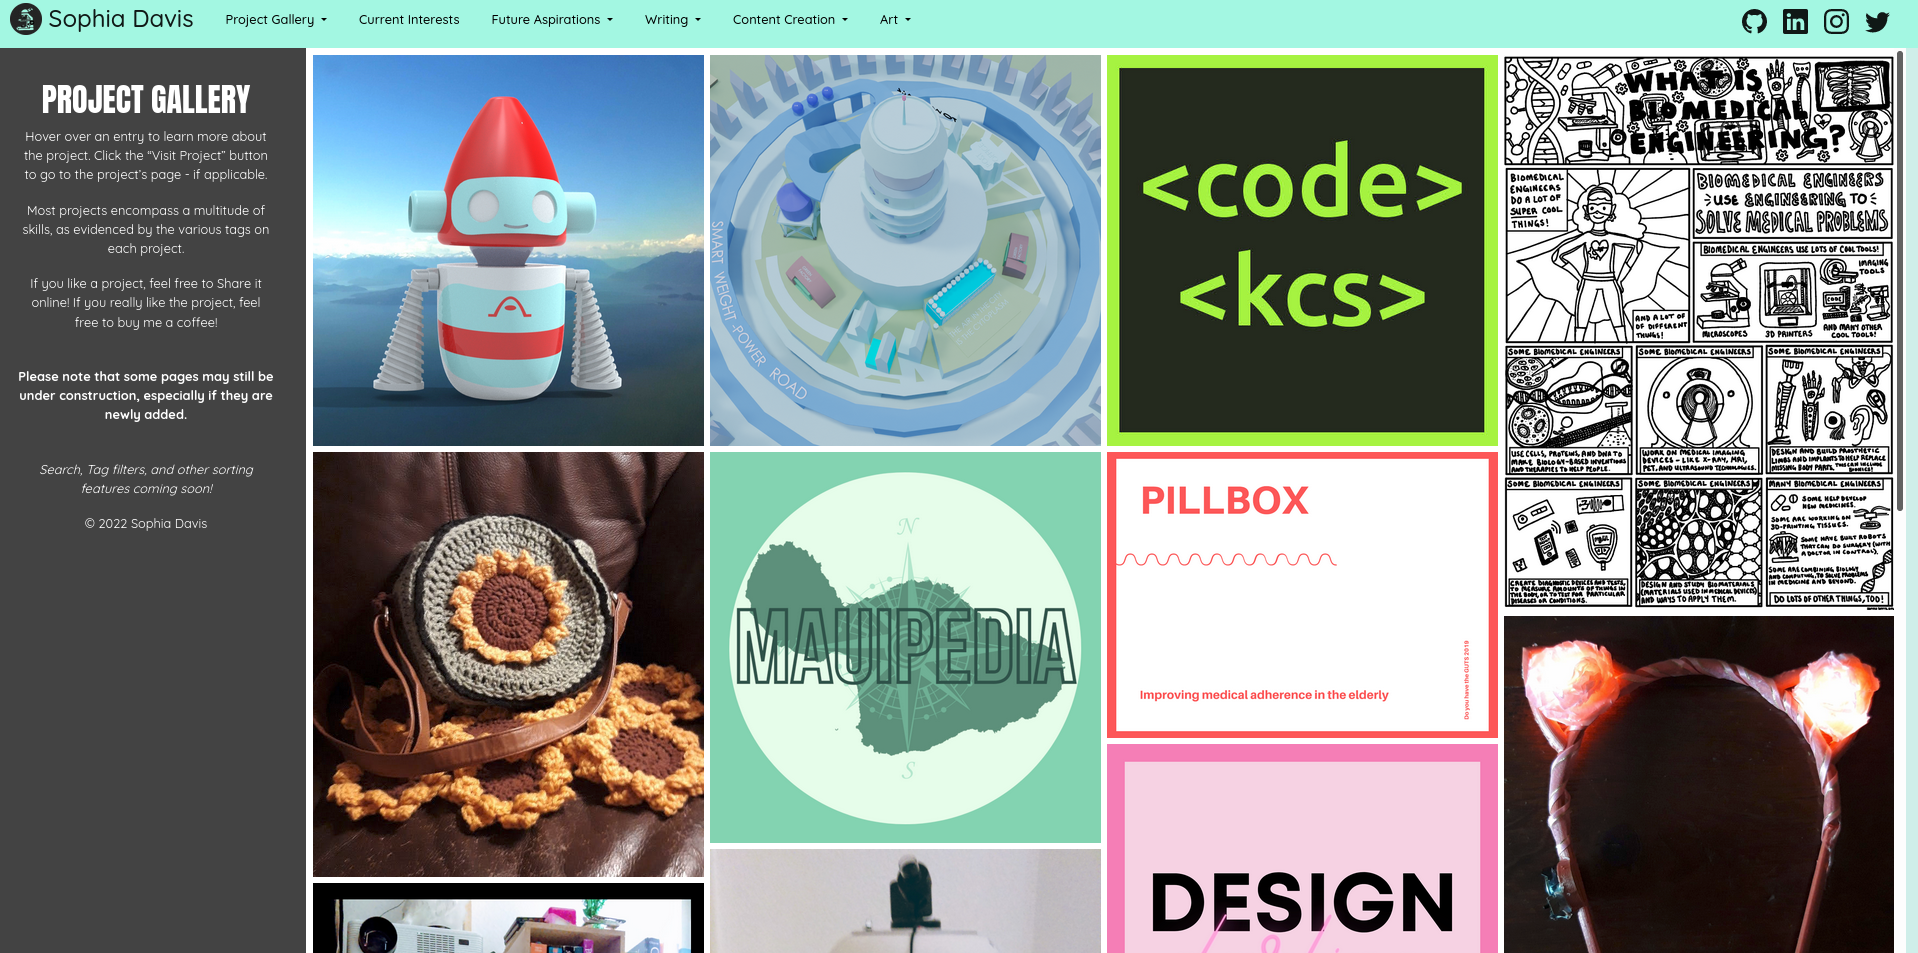
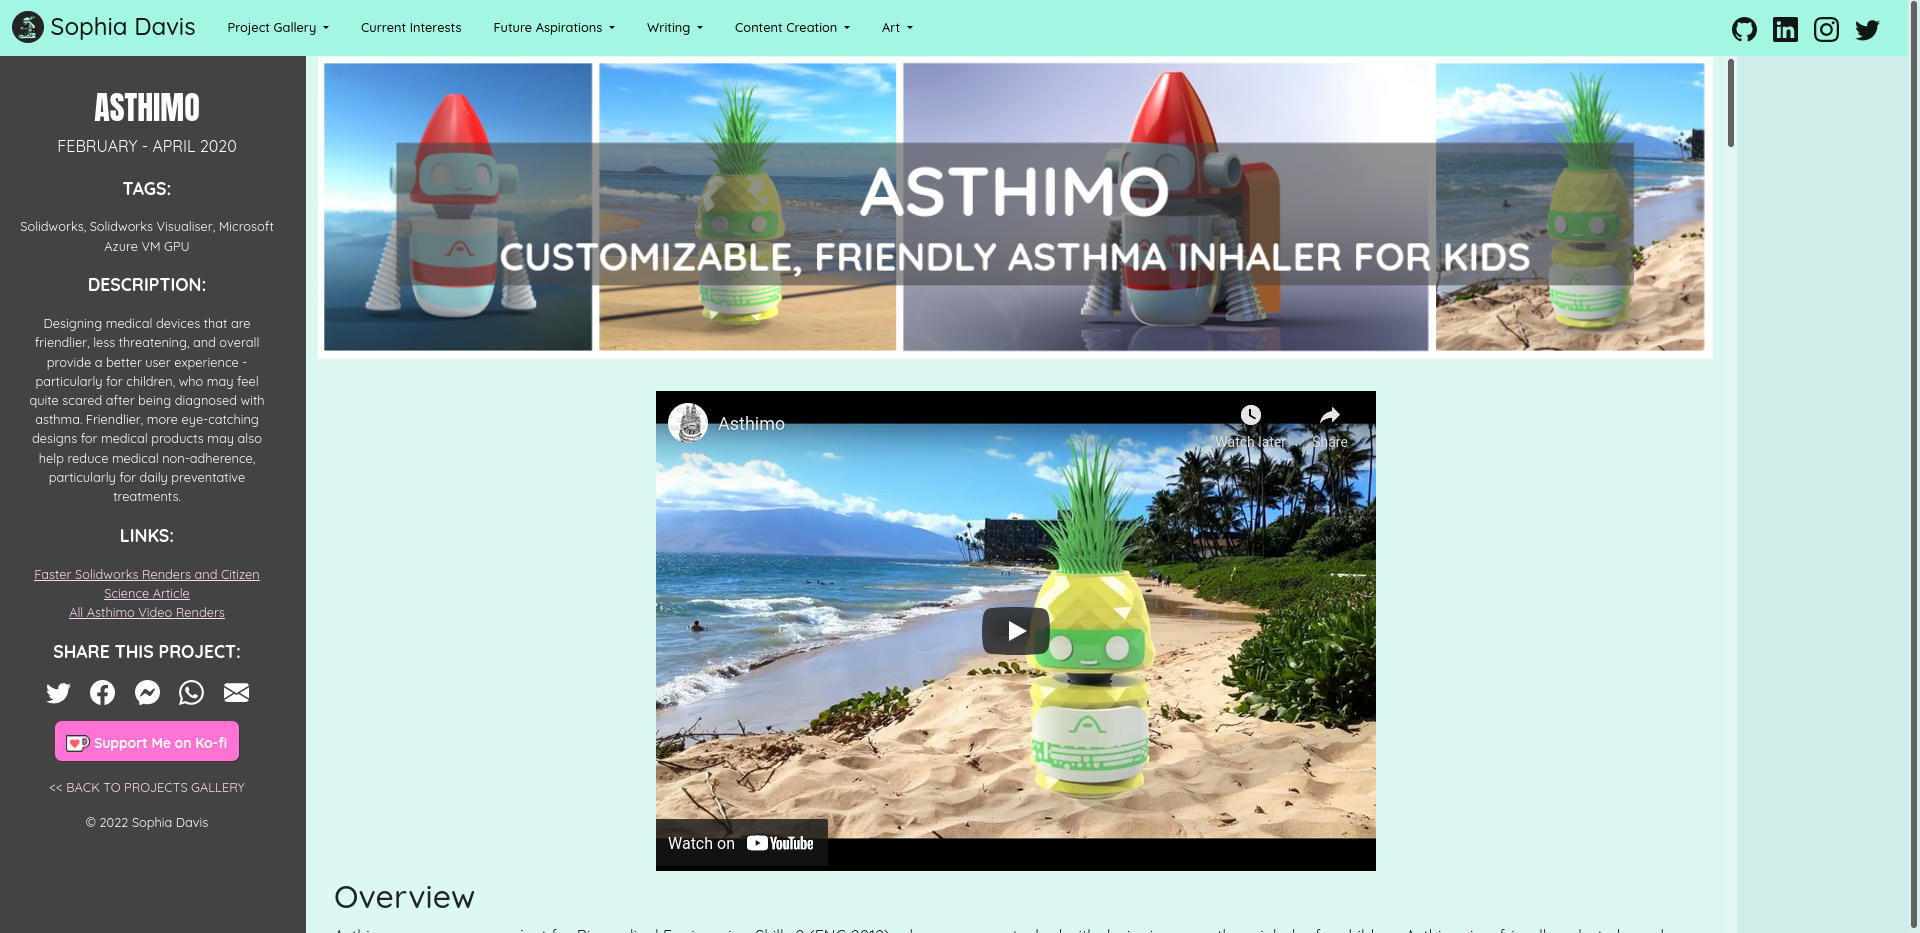
So the Projects page gallery looks like this:
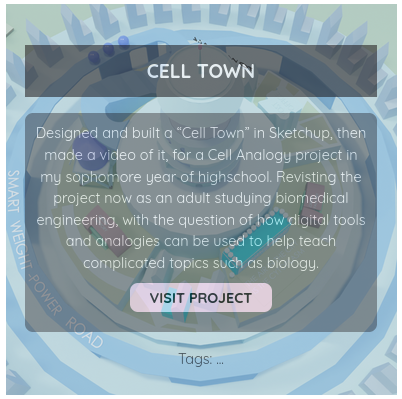
And when you hover over a gallery item, it looks like this:
The most important piece of code on the Projects page is this:

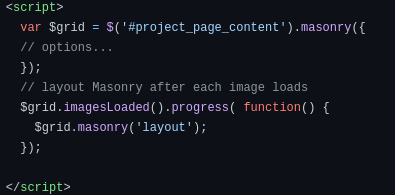
But anyways, back to dissecting this much more important piece of code:
We have a YAML file in our _data folder called projects.yml, and this Liquid for loop is looping through each item - called project - in that file, then including a file called galleryitem.html for each project.
The galleryitem.html file is located in the _includes folder, along with things such as the navbar and footer. It is essentially a piece of html code that can be included on various pages by specifying {% include galleryitem.html %} on the page.
The gallery item file looks like this:
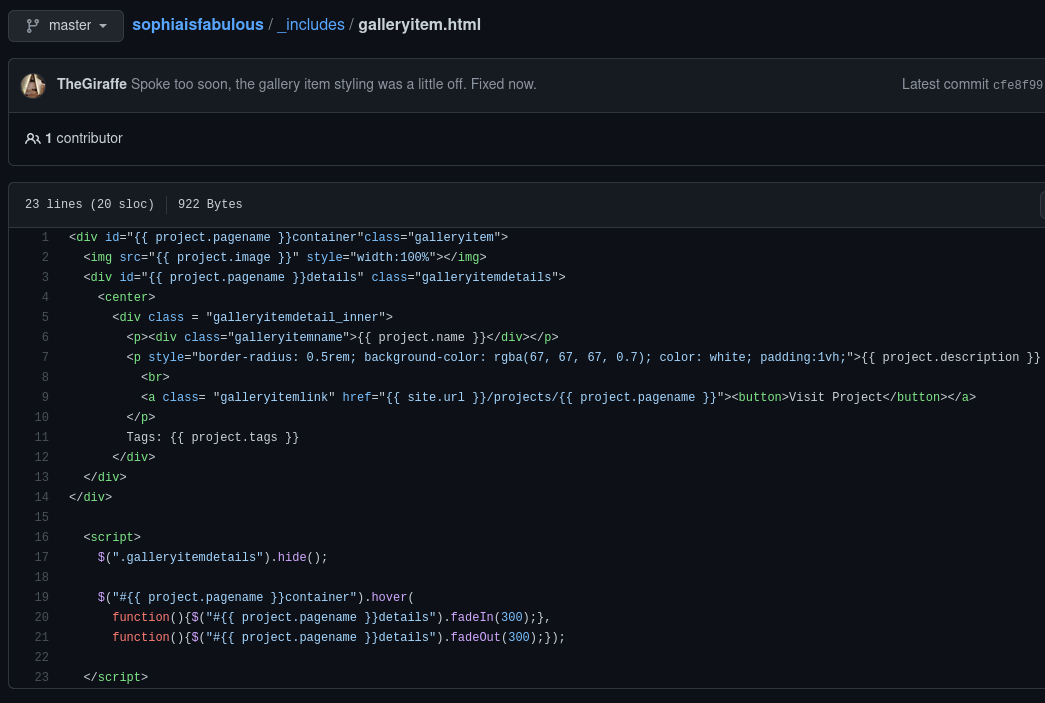
So, what happens is that this code gets inserted into the main projects/index page many times as the for loop loops itself. At each iteration of the for loop, project is set to a different entry in the projects.yml file, and so the gallery item loaded into the html uses that version/iteration of project. The project pagename is used with liquid to generate the div ids for the container and details, which allows the jQuery code below it to work - hence the fadeIn and fadeOut behaviour of the project pagename details upon hover.
Some of this may make more sense by looking at the projects.yml file below:
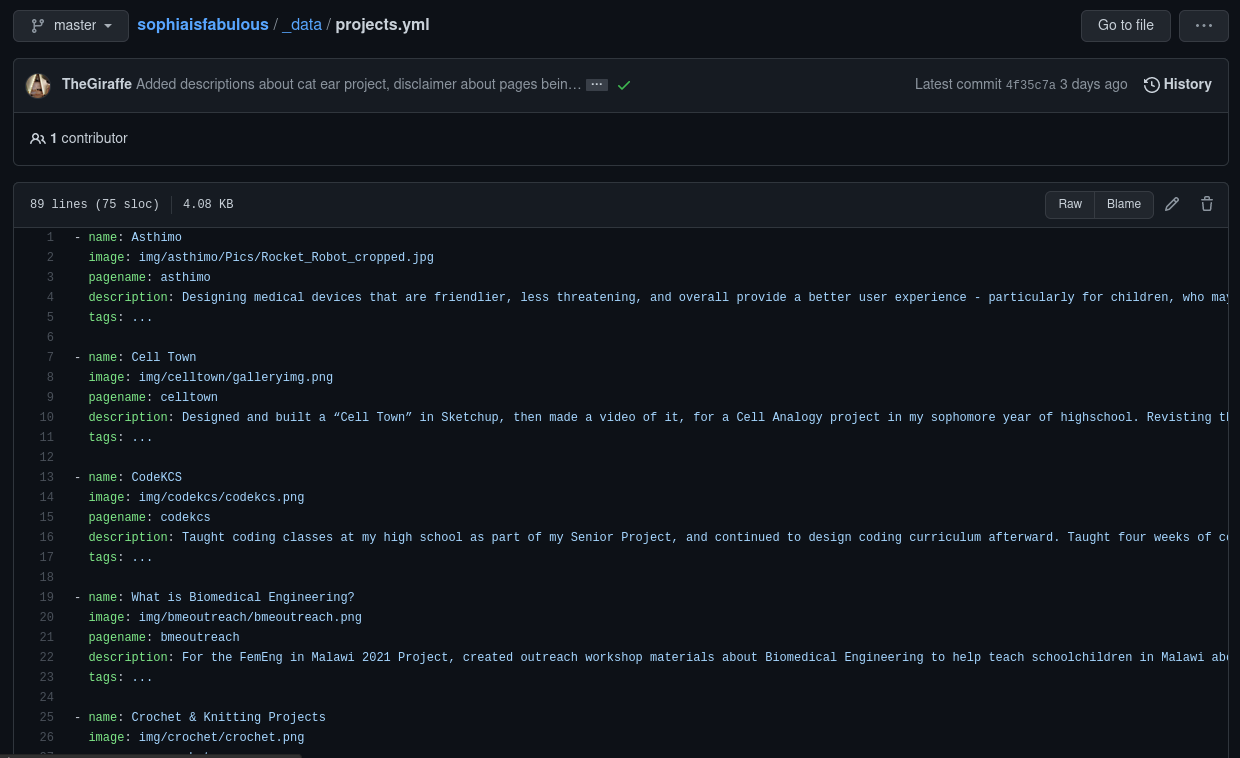
So, to reiterate:
What’s going on here is that, for every project in projects.yml, we generate a gallery item div that uses the project name for the heading (in the galleryitemname div), its description and tags, and most importantly, its pagename to make it link to the correct url, but also because the pagename is used to generate the unique div ids for the gallery item div, if that makes sense:

So for a project with the pagename asthimo, the id of the container div will be asthimocontainer and the id of the details div would be asthimodetails.
And, like, this is so neat because Jekyll goes and generates the static site for you! Without you having to repeat yourself and pull all the hair out of your head! So, for the asthimo iteration of gallery details, the actual page source of my projects gallery page looks like this:
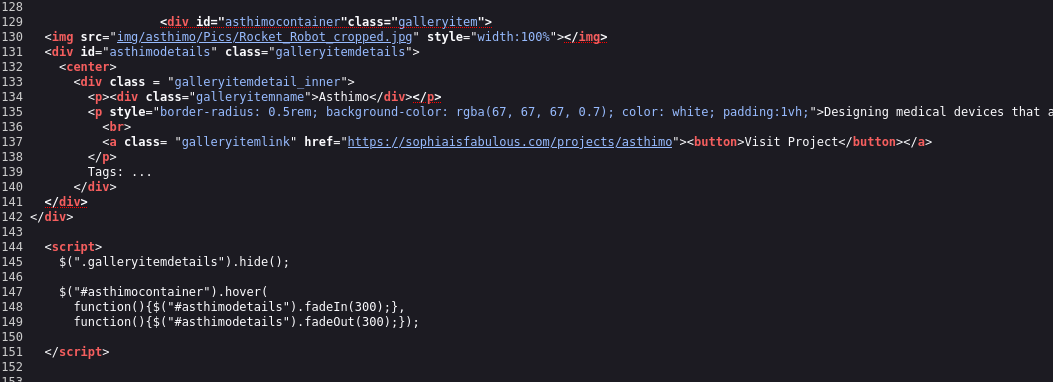
All of the asthimo details are filled in from projects.yml! 🤩
I highly recommend going over to https://sophiaisfabulous.com/projects/ and looking over the page source.
Relevant GitHub code to see for this section:
Page Templates
i.e. The magic of using Layouts
Say that you have a lot of different pages that basically need to look the same, but hold different content. Well, ta-da! there is a solution for this, called Layouts! So, let’s use a project page as a template. From the project gallery, you can see the project page for any project by clicking “Visit Project” for any project. A project’s project page looks something like this:
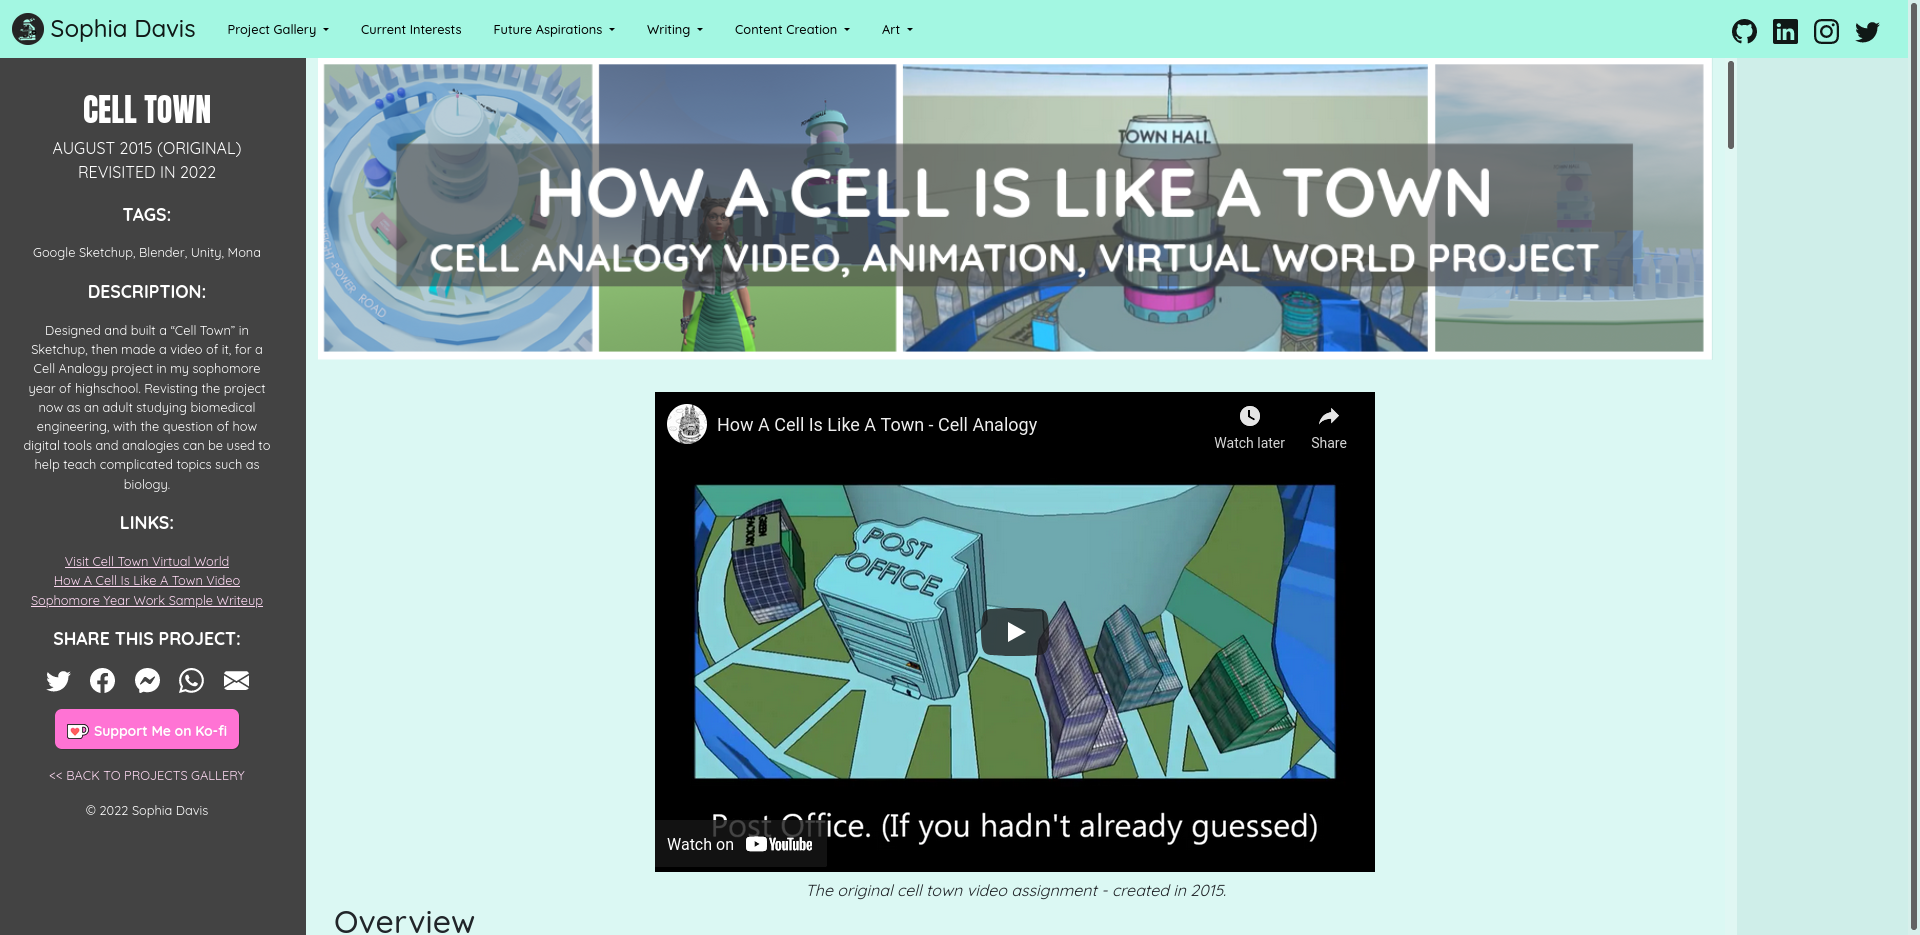
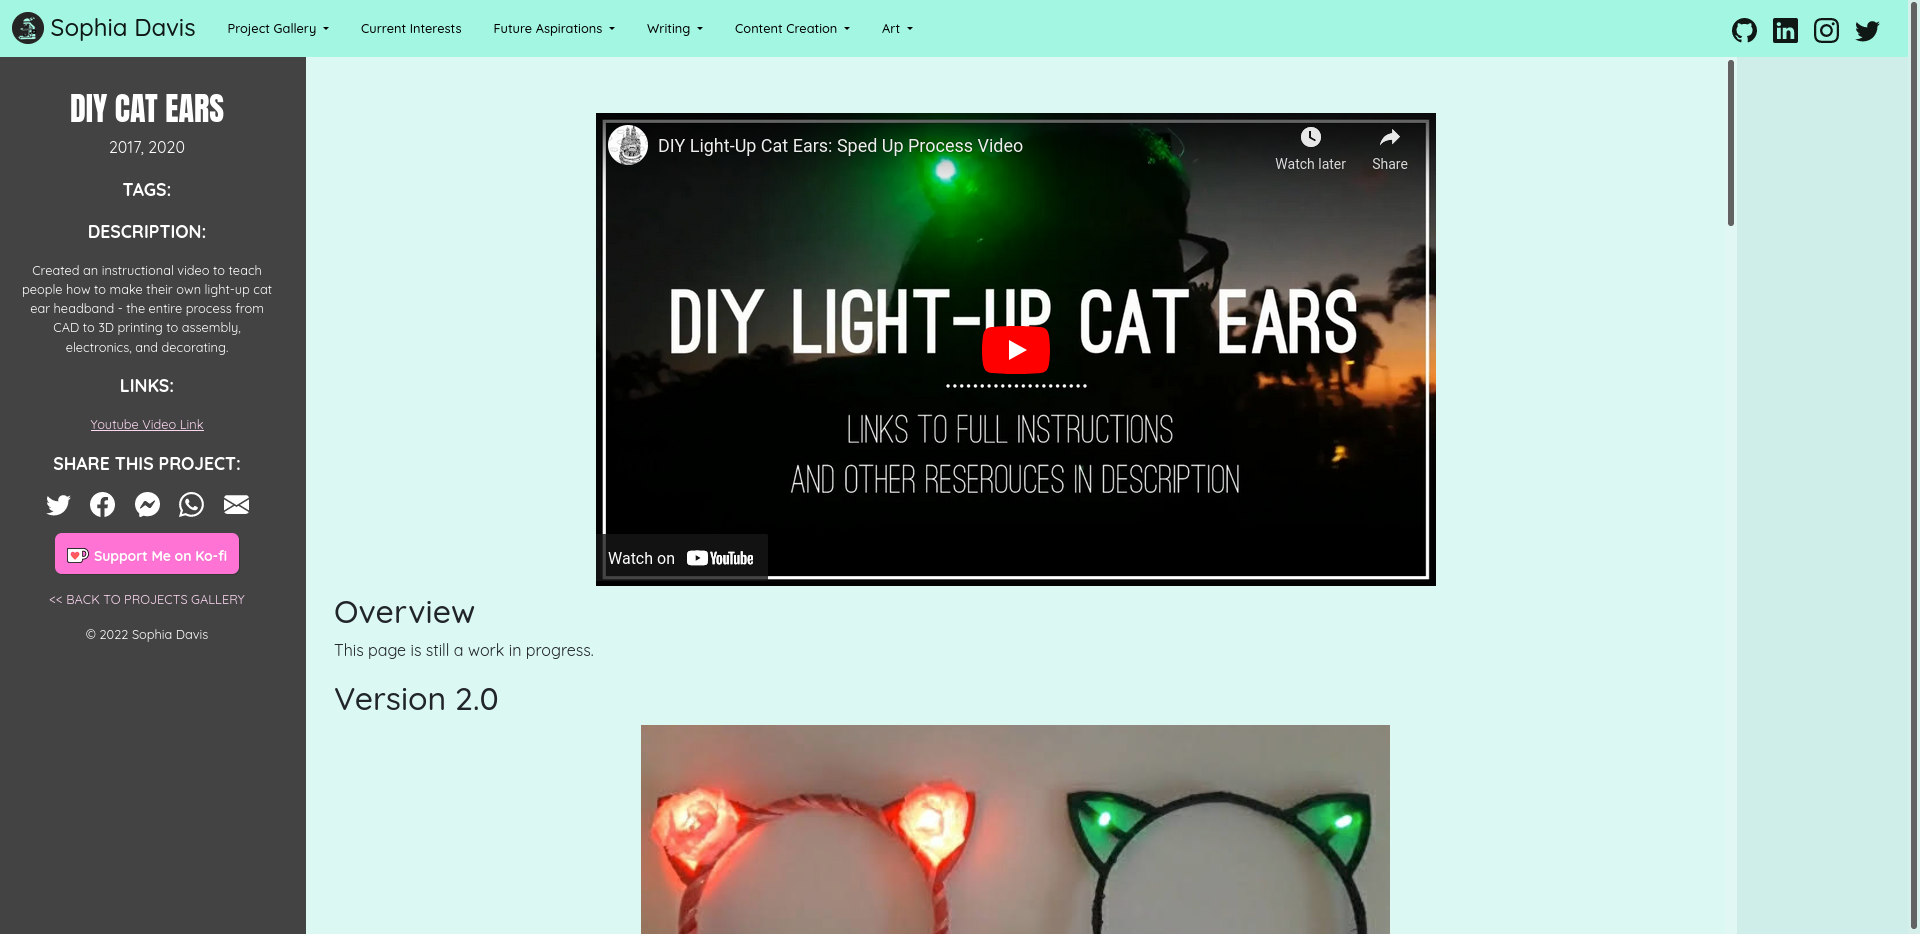
As you can see, it’s basically the same layout, with varying content.
How this works is that we create a _layouts folder in our Jekyll project, and then we create an html file inside it that is the layout/template that we want to use for multiple pages. Just like what we did with _includes.
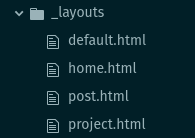
The layouts folder looks like this for my website:
Let’s take a look at project.html to see how the layout is put together, and where the content goes in it.
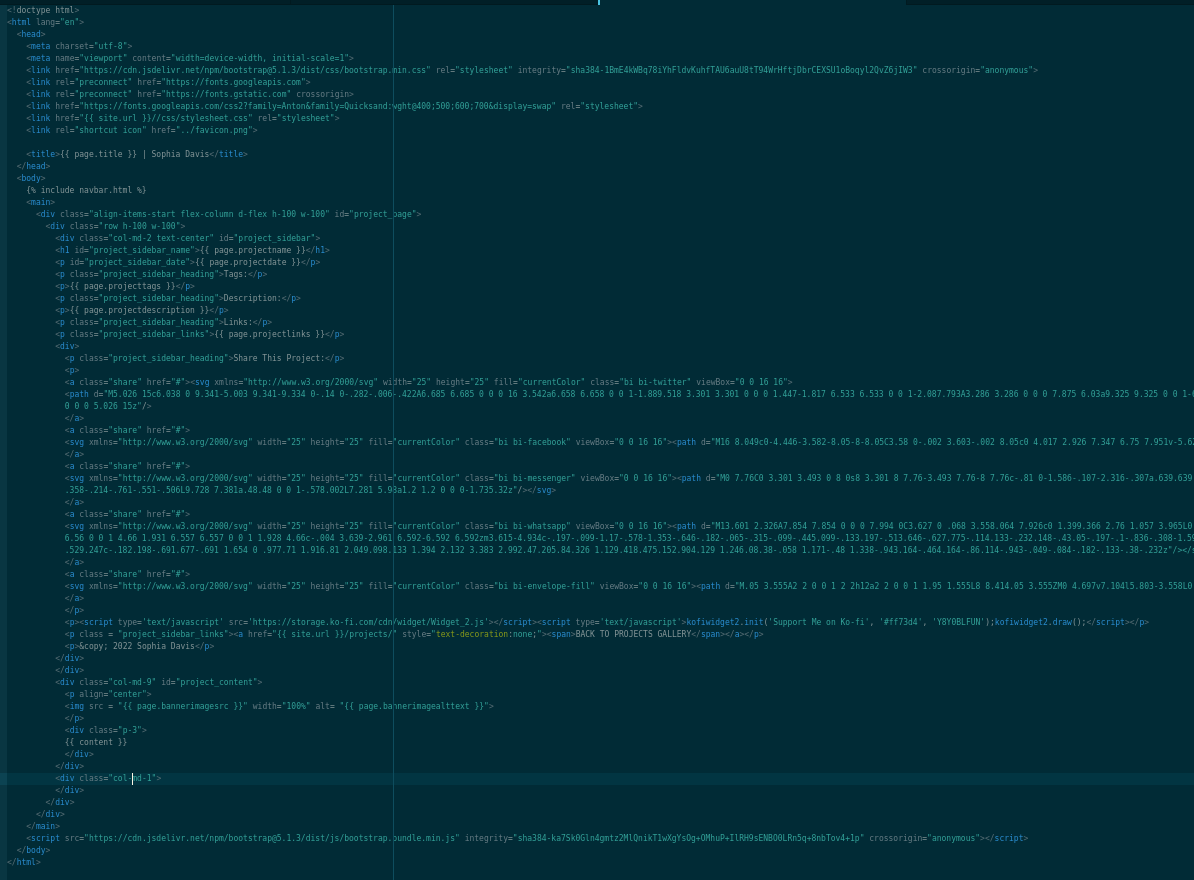
Okay that’s probably hard to read lol. But the important thing is that you put together an HTML file with all of the stuff that you want repeated across each page that you want to apply the layout to. And then, wherever you want the unique content to go, you add a tag that says: {{ content }}
Ta-da! it’s magic lol.
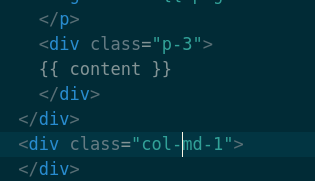
When you want to use that layout on a specific page, all you have to do is add it to the very top of a markdown file (that you want to be generated into a webpage on the final site,) between some dashed lines:
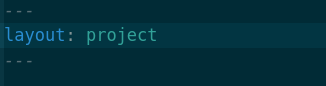
_site, and that is where the website is actually served from when you visit it via localhost or when deployed to Github Pages!
For a brief example, consider my
_site directory below, where I expanded the projects subfolder. In the projects folder that I created outside of _site, all of the file names for each project page end in .md. However, if you look at the _site version of projects, the .md files are now .html files!
Okay, anyways, one thing that can be noted is that, on a typical project page of my website, a lot more information is passed over rather than just the layout:
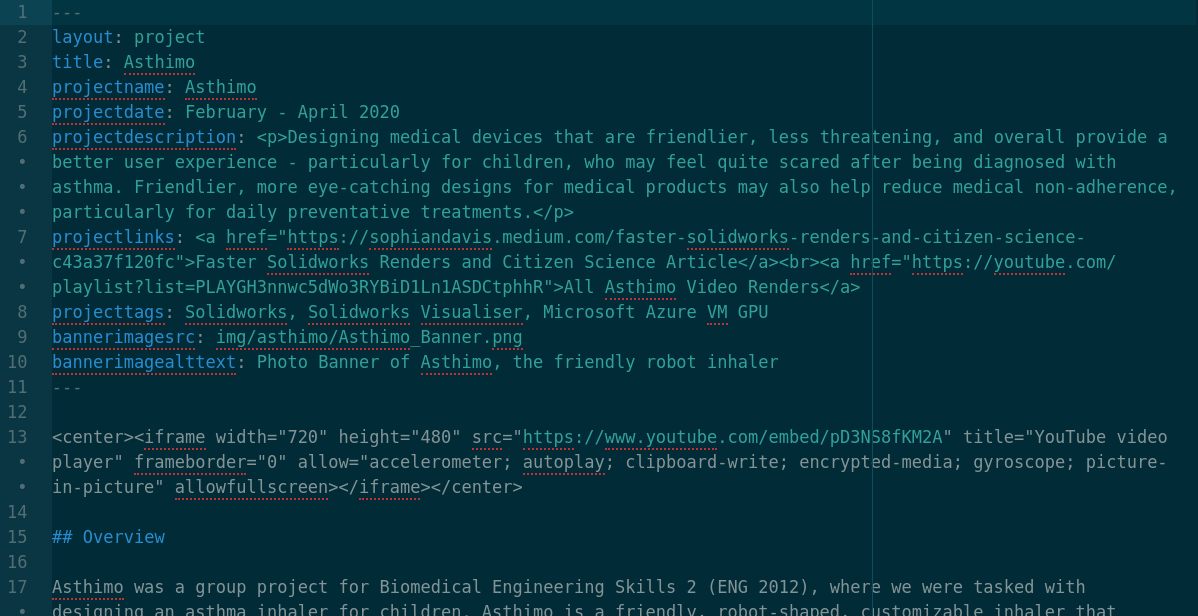
All of those things between the dashed lines (called Front Matter) are variables that the webpage can use. Basically all of the variables in the front matter of this page were actually referenced in the _layouts/project.html template file instead of in the asthimo.md page that we are seeing here, but you can also reference the variable in the page itself using: {{ page.variable-name }}.
Specifically for the project example, we can see where the variables listed in the screenshot above are used to populate the project template when it is applied to a page. All of the following screenshots are from _layouts/project.html.
-
Here, we are taking the page
titlevariable, which in the case of asthimo, appears to just beAsthimo:
-
And here, you can see a lot of the other page variables referenced. Note that most of these variables are set to a value in the front matter of asthimo.md, however, the ones that aren’t set to a value yet, such as
projecttagsjust get rendered blank on the generated web page, rather than throwing an error or breaking things. It’s pretty fool-proof, though I’m sure there are still plenty of ways to break it, and that I will find a way to break it on accident one day and cause myself a mental breakdown.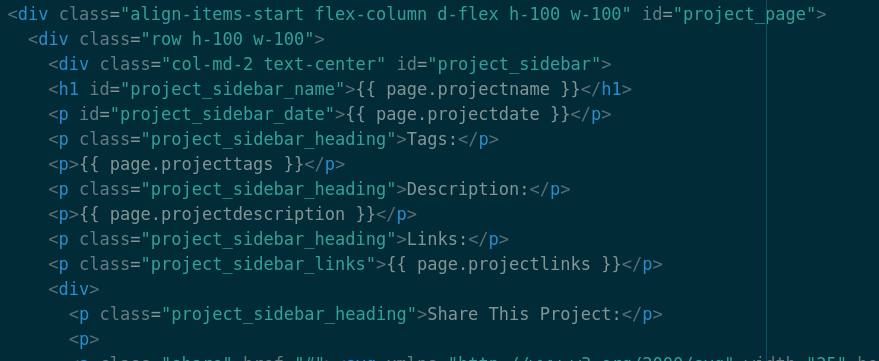
But yeah, that’s basically all you need to know to get started with Layouts / page templates. Just make yourself an html file template in the _layouts folder, find places where you want the {{ content }} and page variables to be, then use the front matter on a markdown file to specify the template that you want to use and set the page variables!
Relevant GitHub code to see for this section:
- _includes/project.html
-
projects/asthimo.md as an example of how a markdown project page - using the project layout, front matter, and page variables - looks.
- And _site/projects/asthimo.html to show what the html file generated from that markdown file looks like on the final site.
Making Blog Posts
i.e. The magic of the Posts folder
This is a little meta lol. Anyways, adding a blog / post functionality to a Jekyll website is pretty similar to the project gallery example from before, but even easier thanks to a magical folder specifically for posts!
Anywhere in your website, you can add a _posts folder to hold all of your blog posts and drafts and things. I decided that I wanted my _posts folder nested within another folder called blog both for organization reasons and so that someday when I’m not a lazy sloth, I can build up a full blog feed functionality (with tags and search all that jazz) on the blog/index page.
Currently the main / index file of my blog probably looks something like this, so obviously, being a lazy sloth 🦥 has won for the time being:
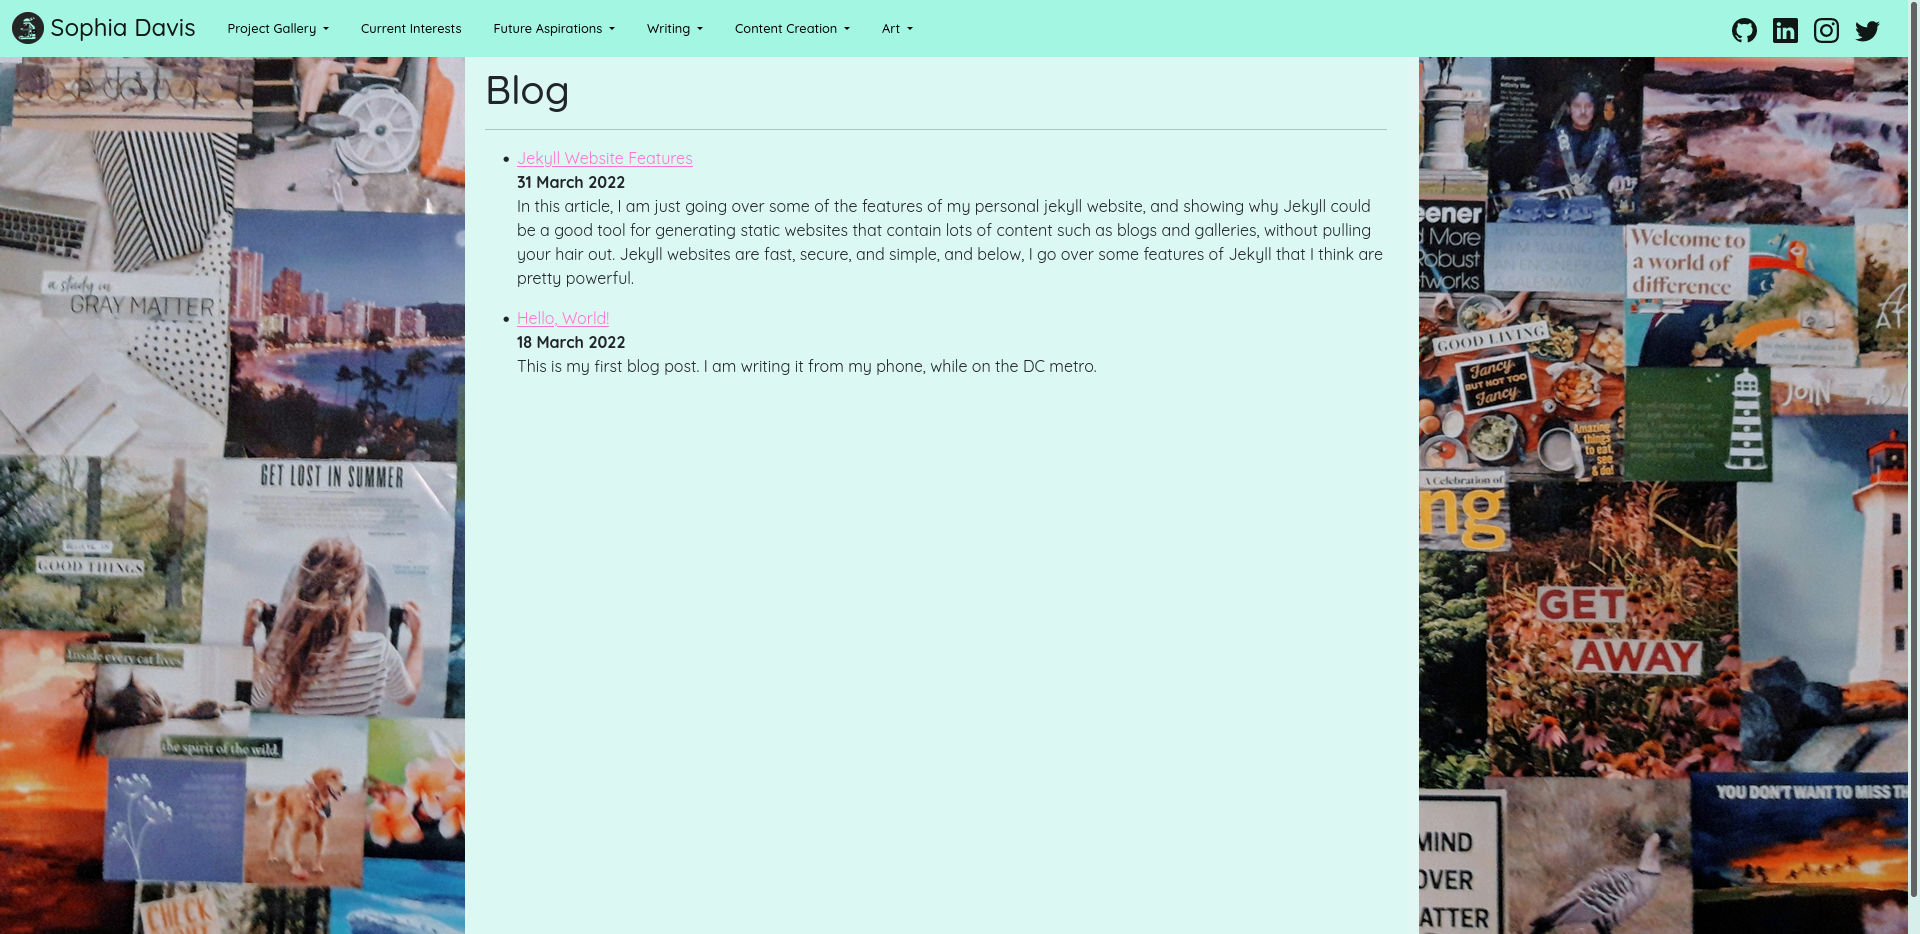 Lol my first blog post (Hello, World!) is so random, what even is that?
Obvs I'm not exactly a super consistent blogger yet - if the fact that this post is labeled 31 March and yet wasn't pushed until 12 April wasn't already enough indication. 😂
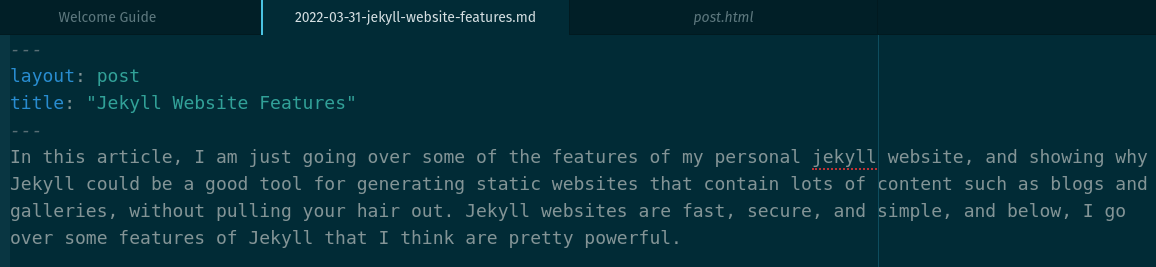
Anyways, go create your _posts folder, and then you can add your first post to it! The format of how the file should be named is: YEAR-MONTH-DAY-title.md . For example, this post that you are currently reading is titled: 2022-03-31-jekyll-website-features.md. The full path of it in my jekyll project is blog/_posts/2022-03-31-jekyll-website-features.md. The path in the final generated _site will be a little different, but I will touch on that later.
From here, all you have to do is add the front matter to the top of the post, as the layout needs to be the post layout and title (see screenshot below), and then start writing your ideas for the world to enjoy or cruelly roast! (Or both, the world is fickle lol.)
Now, you probably should actually create a post layout, so a file called post.html in your _layouts folder, so that your post can live in a proper webpage with a navbar and some sort of nice layout for reading and all that jazz. My post layout is shown below, it’s not exactly finished because it could use more regular blog-like functionality, but it’s okay for right now while I’m being a lazy sloth 🦥 :
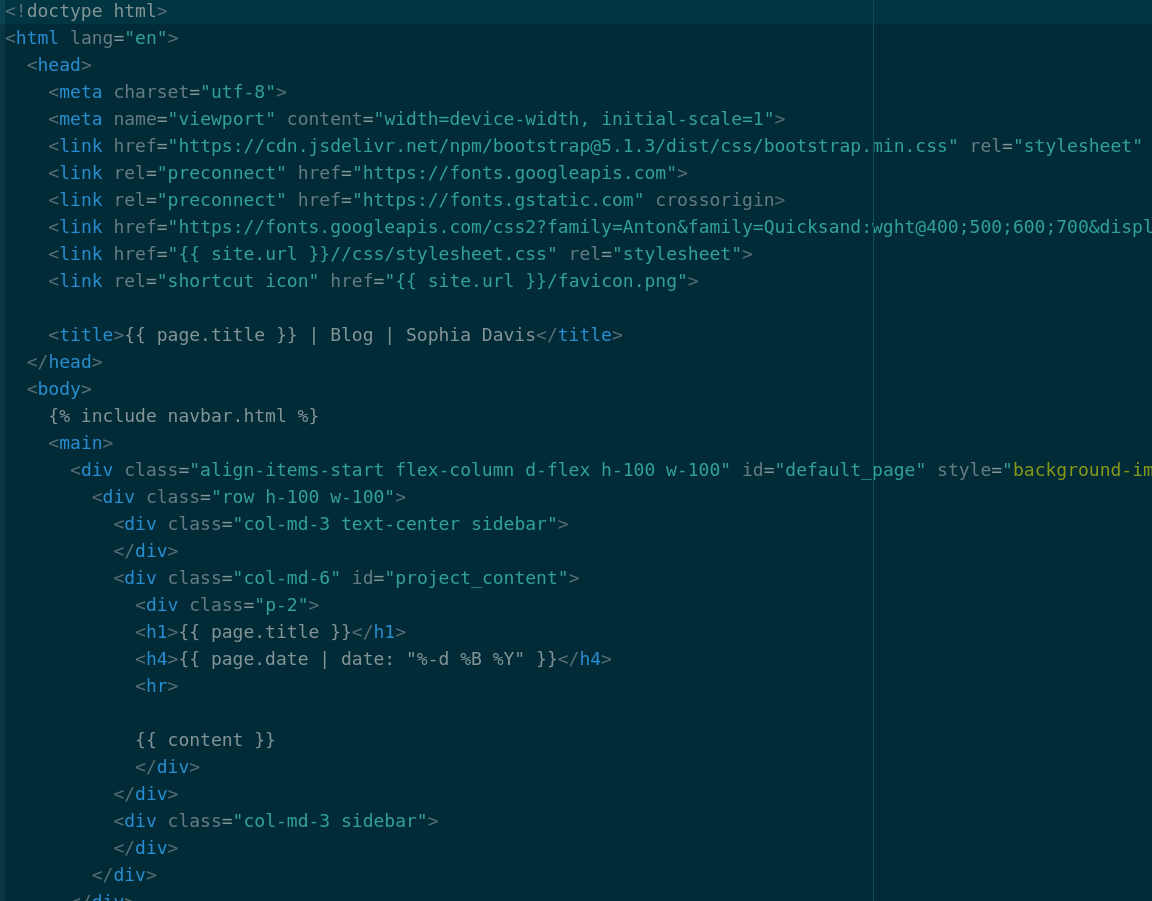
It appears that the page.date automatically got passed from the post - I guess from the title or its details or something? Idk, I think it’s just magic lol.
And, by the way, if you have been working on a post for several days several weeks and are still not finished with it, and want to store it somewhere where visitors to your site can’t find it and roast you, you can create a _drafts folder within your _posts folder. You can also add _drafts to your .gitignore if you’re using git and don’t want folks to see anything in your drafts, however, that’s too much work for lazy sloth so I haven’t really done that yet.
Okay, so once you are done with your post and you’re super happy with it (and it’s properly located in the _posts folder & not nested under _drafts!), you can jekyll serve (or sometimes just press save depending on your setup) and have Jekyll generate the actual html file and file structure of the post. What I mean by this is… Well, have a look at what’s going on in _site once this has been generated:
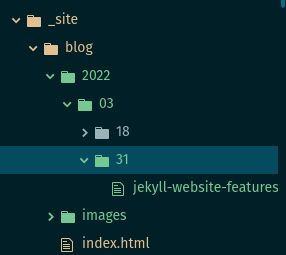
Aaah! That’s a lot of nesting! And this is kinda concerning because, say you put a bunch of images for your post in an images folder within the blog folder. How are you going to access this without having to count the nesting for every single post depending upon the day, month, and year that it’s published? It sounds like a massive headache! Well, that’s where our dear friend {{ site.url }} comes in handy, and I think I may have mentioned the blog nesting issue further up in this post when I first introduced it. That was eons ago though lol. So, basically, make sure that you are specifying your image paths absolutely using {{ site.url }} rather than relatively. For example, the markdown image code that I used to include the image directly above was:

This post is getting so very meta lol. Anyways, the last thing I want to discuss before I go back to being lazy is how I put together this kinda half-assed blog page that only displays, titles, dates, and a very short blurb from the original post, because it might be a good jumping-off point for a more sophisticated looking blog page.
Dismissing the front matter specifying the page layout and title and other variables for the page, which I didn’t include btw, the only HTML code on the blog/index.html page is:
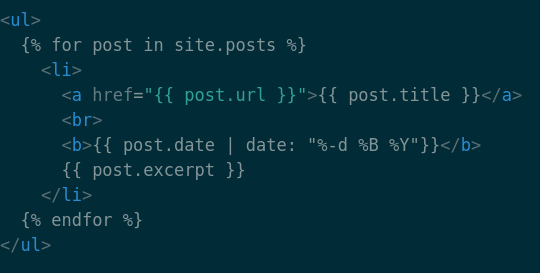
This is super similar to what we did with the projects page, except, we do not need to create a posts.yml file! It just knows what a post is! The post url, post date, and post excerpt are automatically taken from the post using magic or something, and the post title was specified in the post’s front matter so that gets taken too. And so, yeah, it just uses a for loop to display this information for each post that exists.
You can read more information about posts and what you can do with them, and some slightly better advice regarding images/assets than my advice lol, all here on the page in the Jekyll docs.
Relevant GitHub code to see for this section:
- blog/_posts/2022-03-31-jekyll-website-features.md - as an example, link to the markdown version of this post.
- blog/index.html
Final Thoughts
-
Omg this took forever lol.
- Feel free to go through and stalk my Jekyll website code at https://github.com/TheGiraffe/sophiaisfabulous.
- But please don’t stalk me as a person.
- But please don’t stalk me as a person.
-
It might be awkward if a future employer ever read the way I wrote this.
-
Jekyll is ✨ magic ✨ and despite being a static site generator, can actually do a lot of things that developers often use much more complicated tools / frameworks for. It is super simple and easy to learn, very secure in comparison to other platforms typically used for blogs, and very easy to deploy (which I didn’t really touch on in this guide, but please believe me!). I am particularly fond of how it makes use of the Liquid templating language. Overall, these attributes make it quite powerful. I am excited to see what else I can do with it in the future!
-
There are also a lot more things that you can do with Jekyll! Are you interested in adding comments to your blog posts or e-commerce functionality? The Jekyll website’s Resources page has a bunch of resources that can help level up your Jekyll website to
